There are certain do-it-yourself tasks that we must know. Firstly, because they are easy to do and secondly because they are essential… at some time in your life you have to do them! We are talking about the three basics of DIY: hanging a picture, changing a plug, and painting a wall.
So that the next time you have to do them you don’t have to hire the services of a professional, we will explain to you how to do them step by step. Write down the process, it is much easier than you may think.
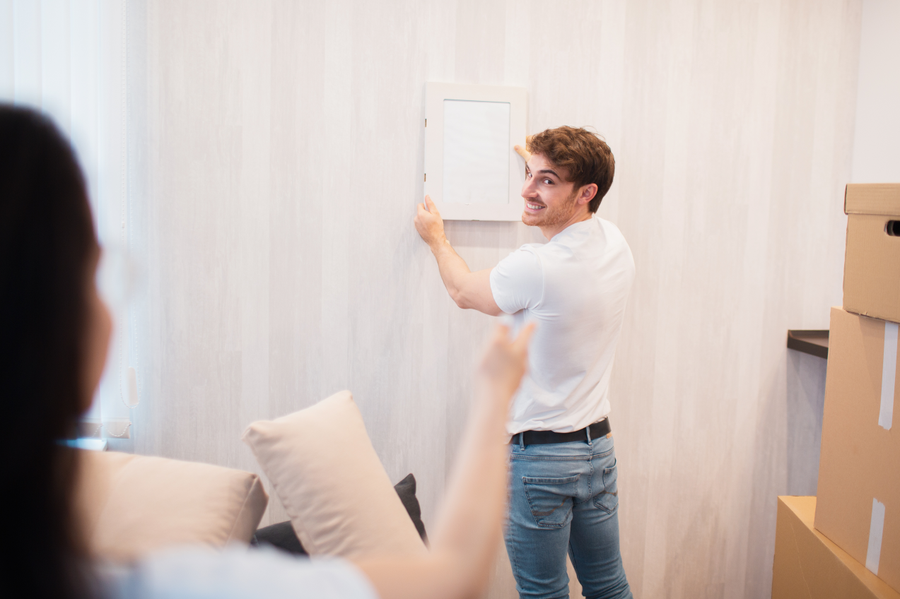
How to hang a picture
For this task, these are the tools and utensils you will need:
- Pencil
- Metro
- Hammer
- Drill
- Closed sockets
- Tacos
- Threaded Alcayatas or Spikes
And the steps you must follow are the following… The first thing to do is to place and screw the two sockets on top of the frame (so that the distances are equal, we measure them with the help of a meter). Then we mark with a pencil the exact place on the wall where we are going to drill to place the sockets and, to make it straight, we measure the distance from the ceiling or the floor.
The time has come to drill, and for this, we have to use the appropriate drill for the material that the wall is made of (brick, wood, etc.). As for the size of the drill bit, we just have to compare it with the cue we are going to introduce in the wall and check that they are the same size, because if the hole is bigger than the cue, it will ‘dance’ in the hole.
Once we have made the two holes, all that is left is to introduce the blocks in the wall with the help of a hammer, screw the spikes in them and hang the picture by putting the frame’s sockets inside these holes.
Also read: Some of The Most Stunning and DIY Exterior Design Ideas

How to change a socket
Another classic, in this case of the tasks related to electricity. It is just as simple as the previous one, but we must take into account a fundamental piece of advice before the task so as not to take unnecessary risks: before getting down to work, we must cut off the power.
Now we are going to learn how to change a plug. What do we need? Just a new plug and a screwdriver. After having cut the power, we insist- the first thing to do is to remove both the old plug and its trim by unscrewing it from its base and/or pulling the pin. The next thing to do is to pull the plug and check that it is held by two wires, which we will also release with the screwdriver to free it. Now it is time to insert these two wires into the new plug and tighten them with the screwdriver so that they do not come loose. To finish, we put the plug in the wall, screw it, put the trim … and the task is finished!
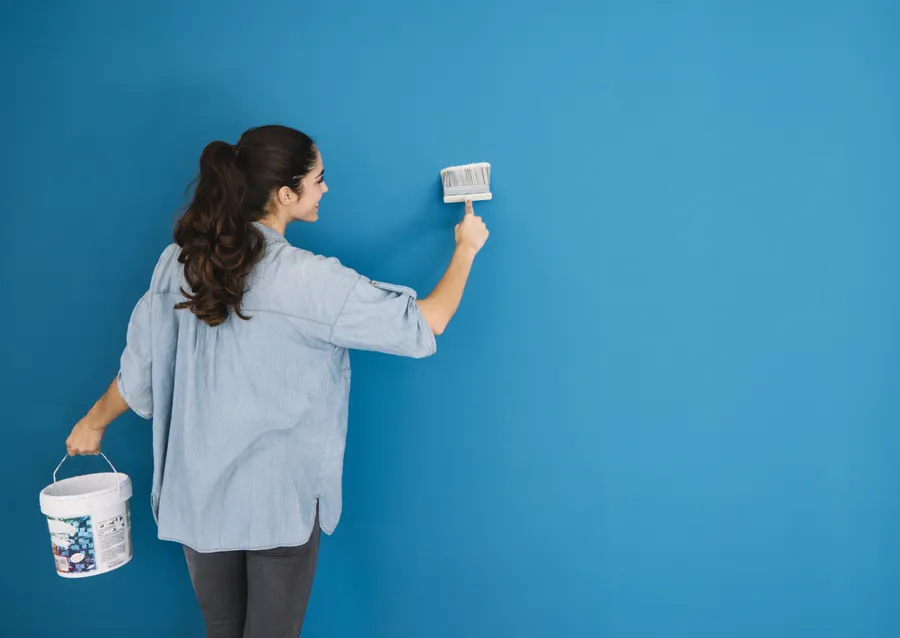
How to paint an interior wall
Painting the whole house is an arduous task that many people prefer to put in the hands of a professional painter. However, when it is a single wall, a small extension, or a room, then we can do it ourselves without major complications.
The materials needed to paint an interior wall are the following: a paint tray, painter’s tape, a roller, a brush for details, a wet microfiber cloth, a paint mixing rod, and, of course, the special paint for interior walls.
See also: 23 Best Kitchen Wall Decor Ideas to Spice up your Kitchen
The steps to paint and leave the wall as new is as follows. We leave the wall free of any type of painting, furniture, shelf, or object that hinders the work, ie, we must leave the wall completely clear. The next thing we have to do is protect the areas we do not want to paint, and we will do it by covering them with masking tape, which is a paper adhesive used precisely to protect before painting the skirting boards, light keys, door frames, windows, plugs, etc.
Then we will use the wet cloth and we will clean the whole wall to remove dust or dirt that may have adhered. We introduce in the tray the paint following the instructions of the manufacturer. It’s time to paint, and we will do it first with the brush, painting the areas near the tape we have stuck, for example around the skirting boards or plugs. When we have done it, we proceed to paint the entire wall with the roller -up and down-, let it dry and apply a second coat repeating the same process. And that’s it, your wall will be as good as new.
As you will see when you put them into practice, these tasks are not only very easy, they are also very entertaining!
Translated and adapted by Noobuzz staff.
Sources: Facilisimo