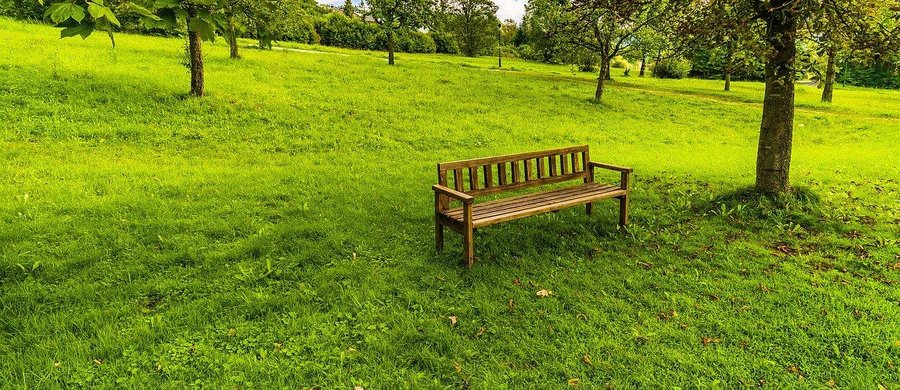
Rustic wooden benches are very simple to make. So we are going to show you how to make a wooden bench, which looks great in a rural style environment but is able to adapt to any space. After making it, you will invite us to sit down and have a coffee.
Tools and materials
As for the tools, we require a battery drill, wood blade, palette, drill stop, jigsaw, mallet, belt sander, and a 10 mm diameter wood drill. The materials needed are 90 x 35 mm pine boards, mounting adhesive, 70×70 mm pine strip, teak color matte protector, 140×20 mm pine boards, fungicide bottom, 10 mm diameter tubing, and teak color satin product.
Also read: How to Remove Varnish from Furniture
Procedure
In this process of how to make a wooden bench, we begin by drawing the pieces of the bench: those that will be constituted as the foot, the axis of the back, as well as the sides, front, and back. All this configures the structure of the bench. We cut the pieces using the jigsaw with a wood blade. With some jaws, we will fix the boards to the place where we are working.
Continuing with the mechanism of how to make a wooden bench, after having cut all the pieces, we go over them with fine grain sandpaper and the belt sander. Now we make the sides of the bench: we join the foot-shaft of the back to the shorter side. With the help of the drill, we make a 10 mm diameter drill bit. The drill stop will help us to make the holes for the tubular joints.
Then we put some assembly glue in the holes and in the joints. With the hammer, we insert the joints. Then we join the two sides, making use of the joints and the adhesive. As a next step, we put the central crossbeam corresponding to the seat. Now it’s time to put the three boards that will be the seat, joining them with the tubes and adhesive.
To finish these steps in how to make a wooden bench, we strengthen our structure with some triangles made of pine wood. The whole bench has to be finished with the belt sander, to improve the finish. Finally, apply weather protection, a matte one, and the satin product. Let it dry.
Translated and adapted by Noobuzz staff.
Sources: Facilisimo