Recycling is one of the most important things we have to adapt in our daily life; because if we want to take care of our environment we can start with very simple things that will help us in the long run.
To guide you to make this recycling stage easier for you, here are a few simple steps to create a self-watering pot, besides helping the environment, you will also forget about watering the plants, because with the device that I show you below the soil will always be moist, helping the plants to grow in a healthy way.
Material:
- 1 plastic bottle of 1.5 liters or 2 liters with lid
- A piece of cotton fabric 20 cm long
- A pair of scissors
- Cutter or exact.
- Rule
- Earth
- Seeds
- Paint and brush (optional)
Source: Meli Ruiz
Procedure:
Step 1:
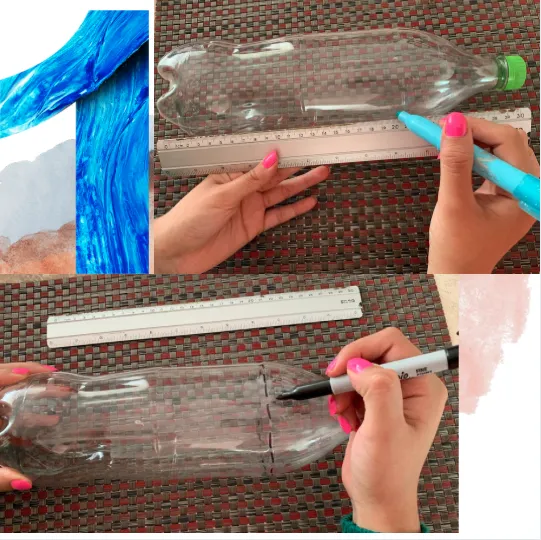
Take the bottle and measure 20 cm from bottom to top. You will make some marks with the down around the bottle to indicate this measurement.
Step 2:
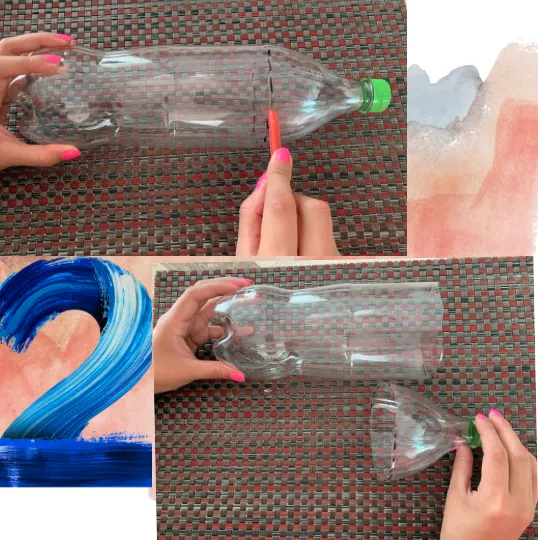
Cut the bottle at the brand you made earlier. And separate the top part from the bottom part. If necessary you can cut the edges with scissors to make the cut straight.
Step 3:
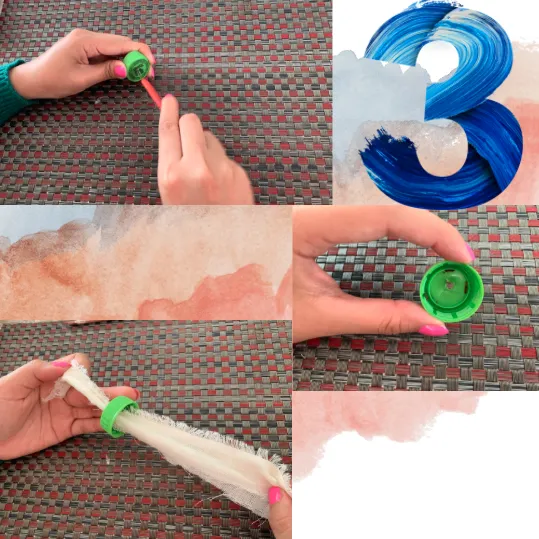
Unscrew the lid and with the cutter, you will make a hole in the middle of the lid, so that it fits the piece of fabric. Pass the piece of cloth through the hole you made previously.
Also read: Use These 4 Tips to Design a New Garden That You Will Love
Step 4 :
Place water at the base of the bottle and let it reach approximately half of the container.
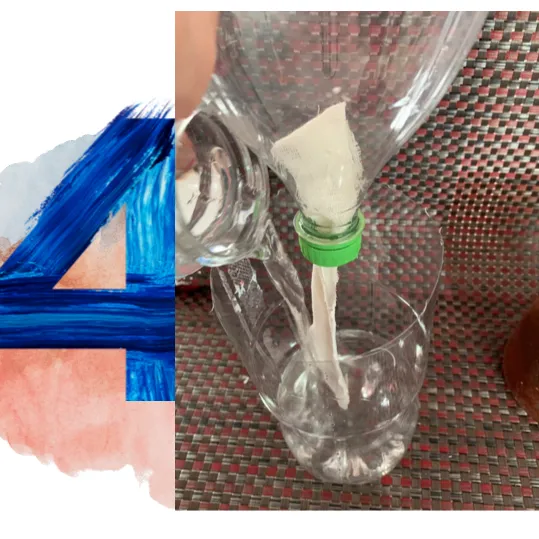
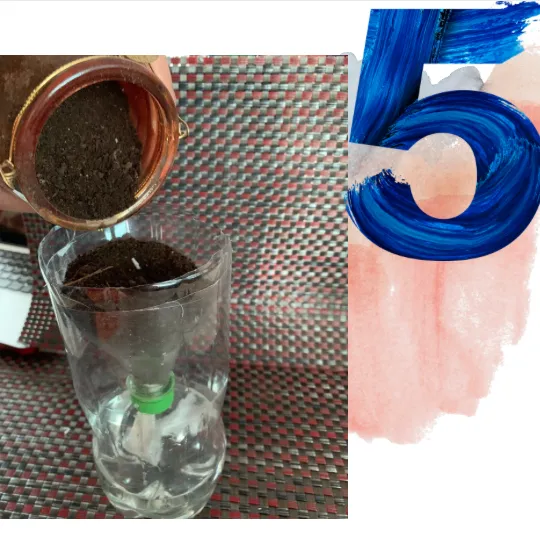
Step 5:
Put the other part of the bottle on top, with the cap down (as shown in the photo). Place ¾ ground parts on top of the bottle.
See also: The Best 5 Flowers to Start Your Winter Garden and Renovate Your Home
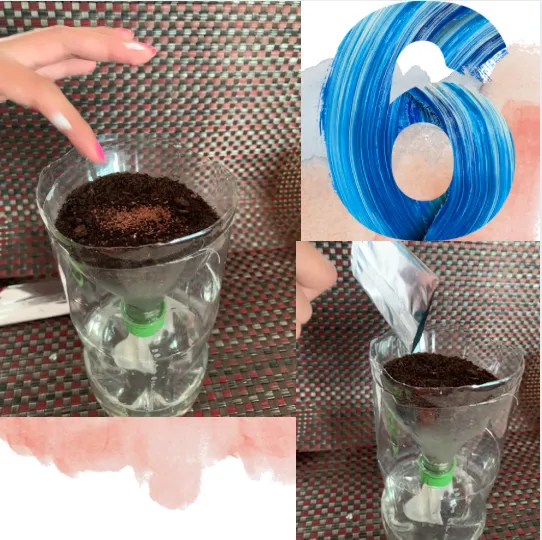
Step 6:
You will make a small hole in the ground and then carefully place the seeds to be planted.
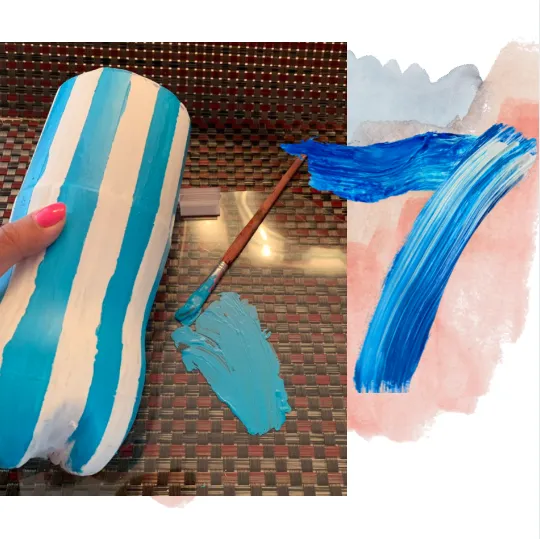
Step 7:
This step is optional because we have reached the end and you can decorate the bottle with paint or in any other way.
Translated and adapted by Noobuzz staff.
Sources: Facilisimo

